Free Pinterest Pin Maker
Upload a photo, add your words and download a pin at Pinterest’s recommended 1000 × 1500 px size. I made it to create pins for my own guides, and you’re welcome to use it for yours too. There’s no sign-up and no watermark, and your photo never leaves your device.
Last updated November 2026
Choose a photo to start.
Example pins
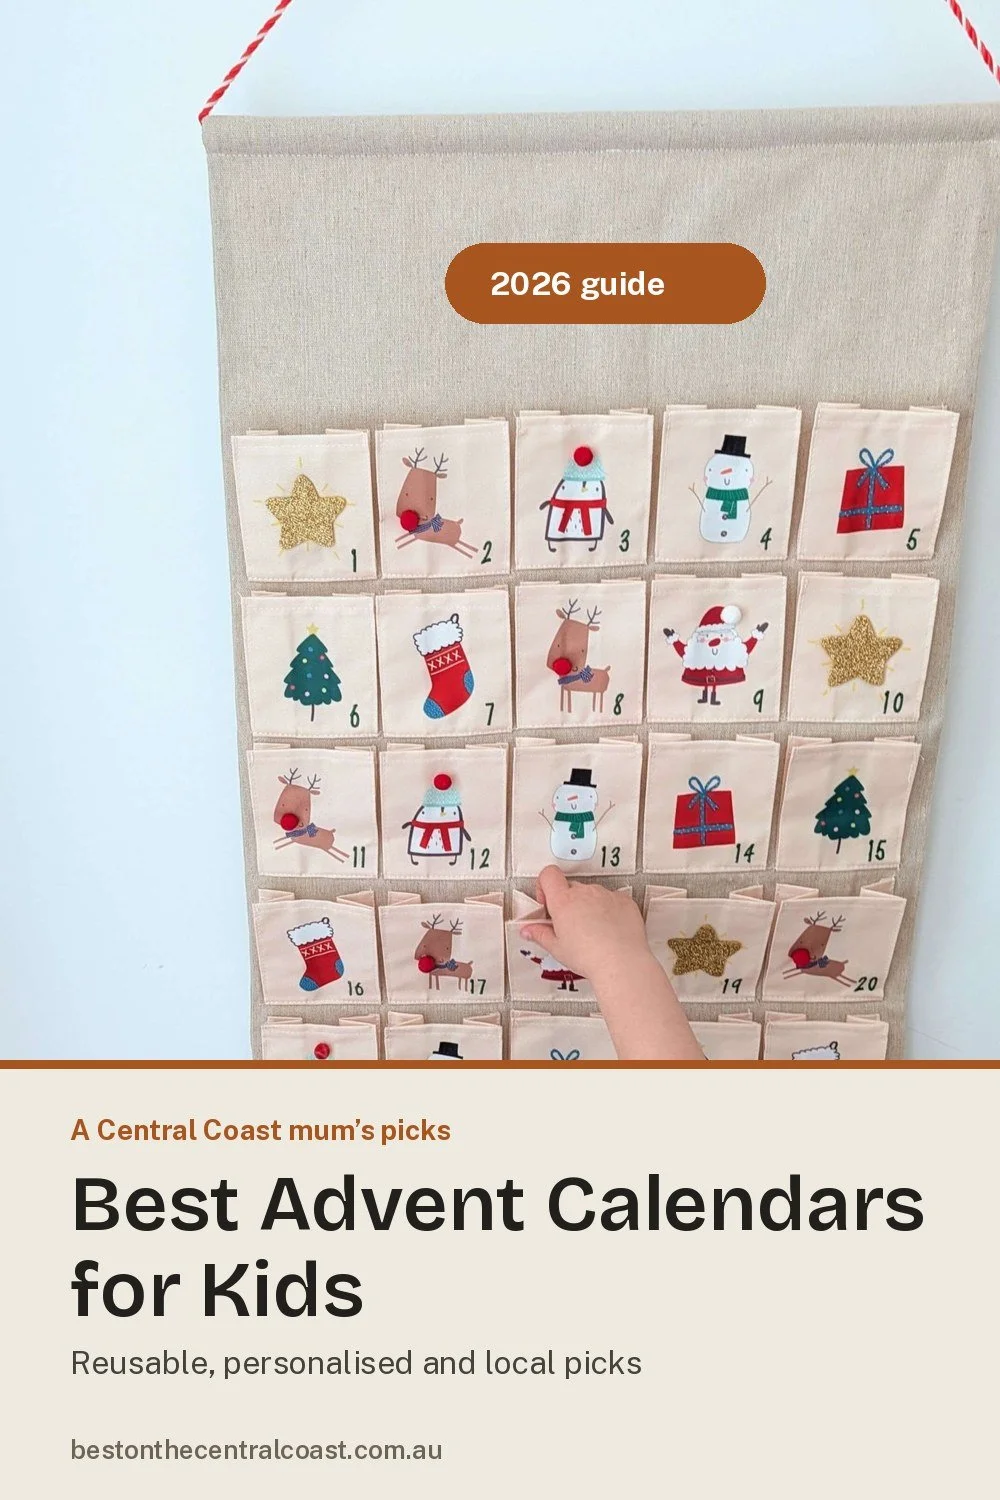
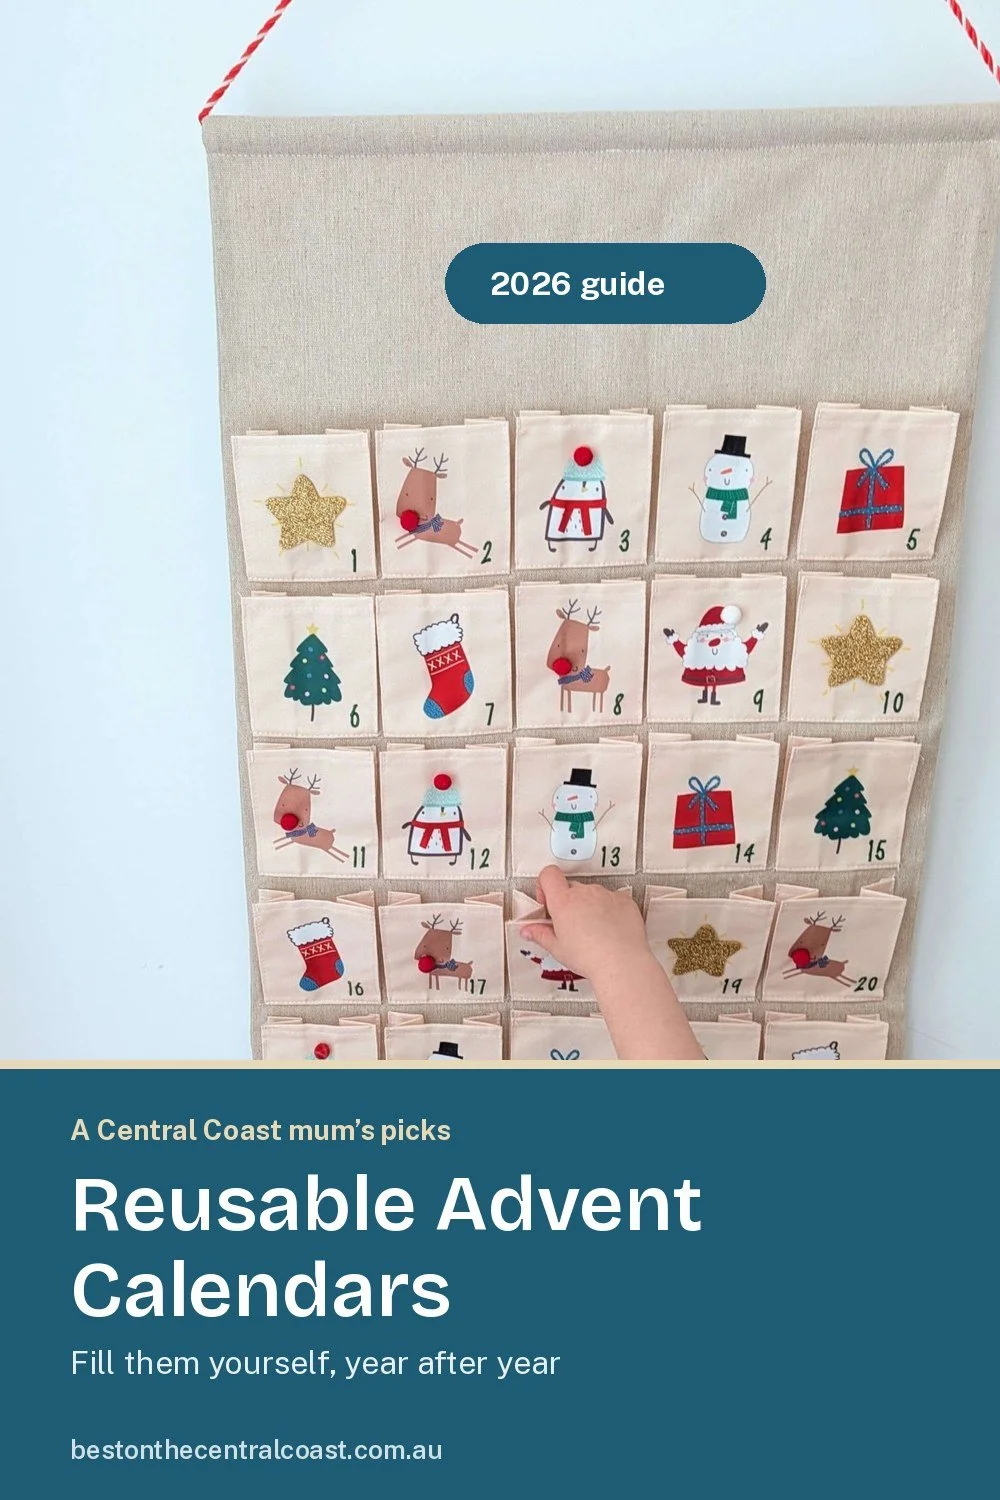
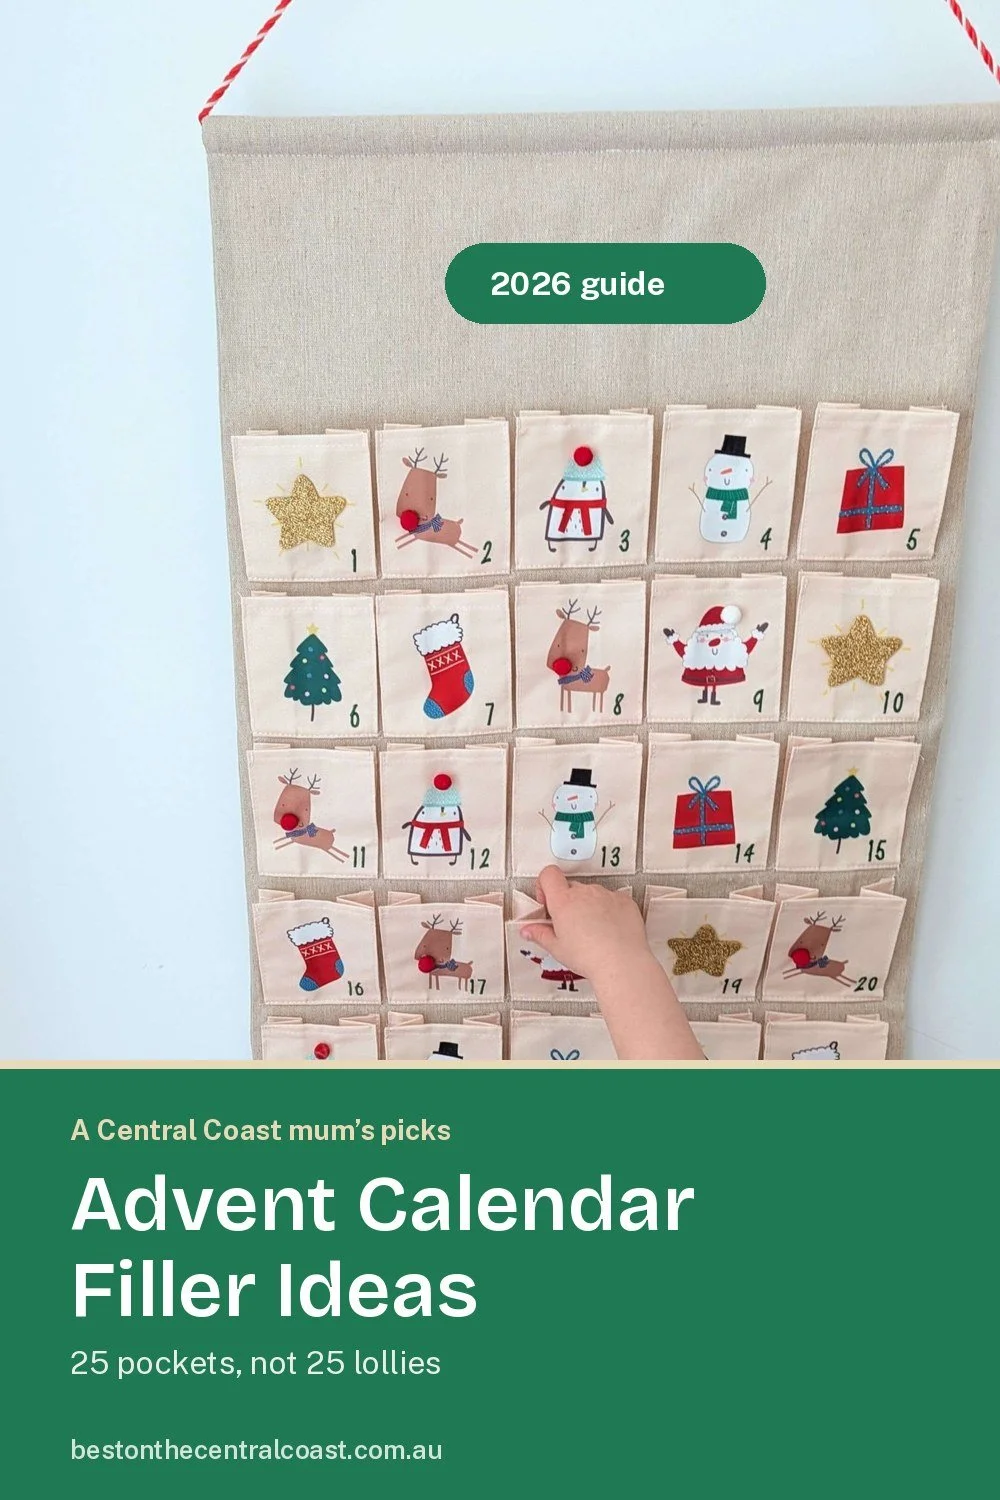
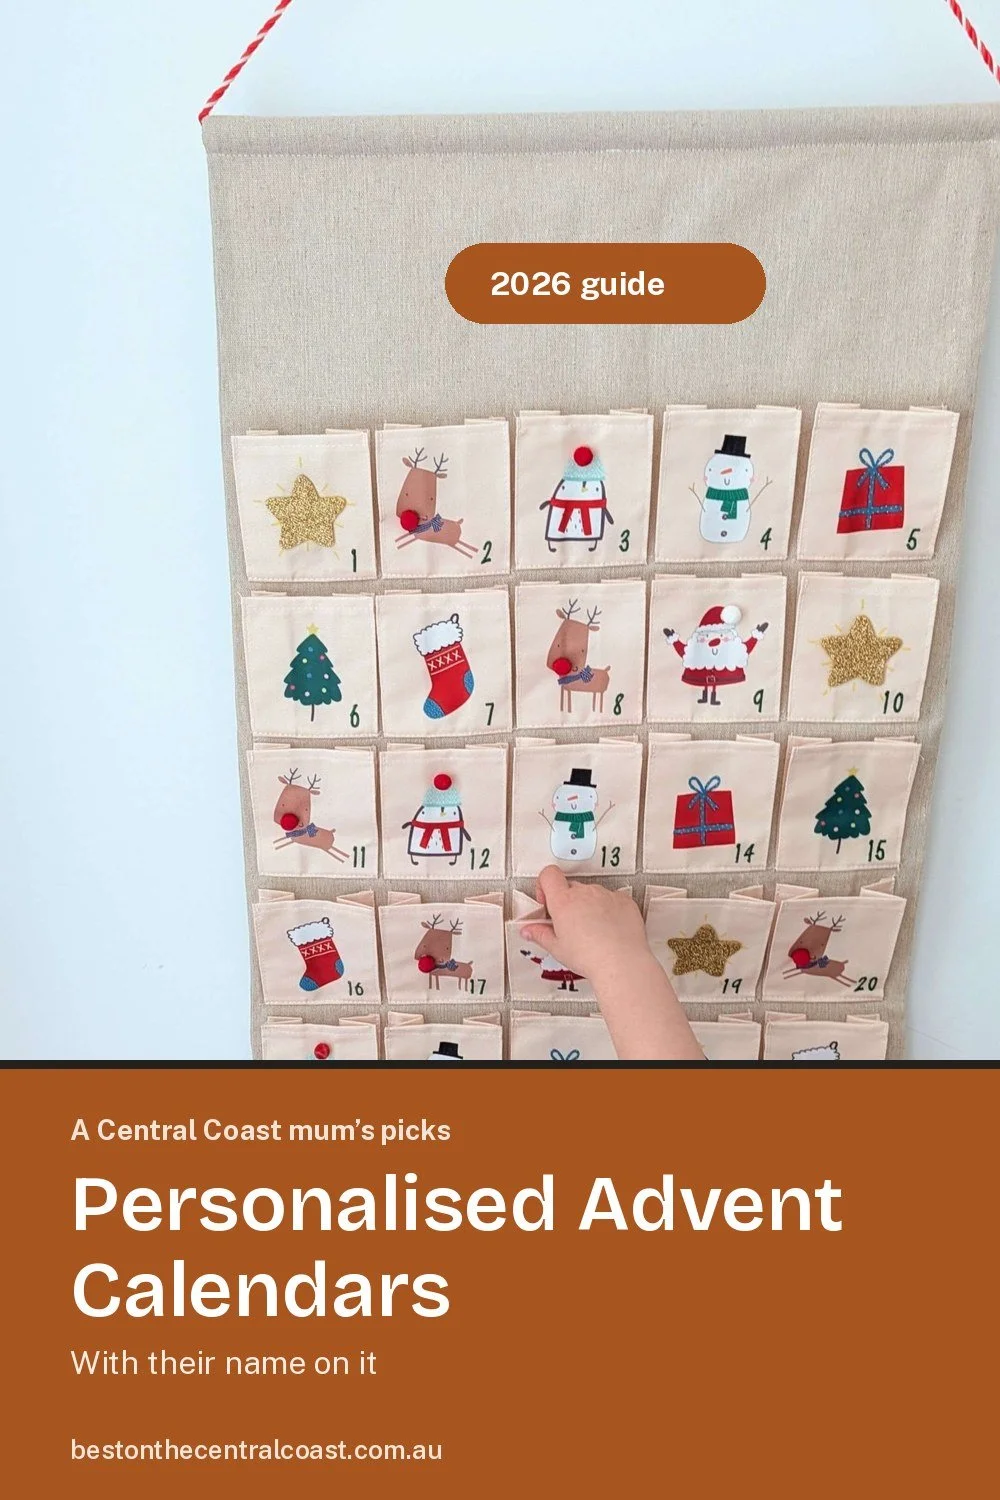
Four pins made with this tool, one in each colour. Each has a different title for the same guide.
How to make a Pinterest pin
- Choose a portrait photo. Move and zoom it until the part people should notice sits in the top two-thirds.
- Pick a colour. Stick with one for all your pins so people start to recognise them.
- Write a short title. Around 40 characters reads well on a phone, where most people scroll Pinterest.
- Add your web address and logo so the pin still says where it came from if someone saves it without clicking.
- Download the pin and upload it to Pinterest with its own title, description and link.
What size should a Pinterest pin be?
Pinterest recommends a 2:3 portrait image, and 1000 × 1500 px is the standard size. That’s the size this tool downloads, as a JPG. Taller images can get cropped in the feed, and square ones take up less room, so they’re easier to scroll past.
Same look, new words
Keep the layout and colours the same on every pin so they’re recognisably yours. The words should change every time: give each pin its own title and description, matched to the page it links to, so each one can show up for different searches.
Making a few pins for one page is fine. Use a different photo and a different angle in the title for each, and link them all to it.
Pin maker FAQs
Is the pin maker free?
Yes. There’s no account and no watermark, and you can make as many pins as you like.
Is my photo uploaded anywhere?
No. The pin is put together in your browser, so your photo and logo stay on your device.
Can I use my own logo and web address?
Yes. Add your web address in the words section and upload your logo underneath. Both are optional.
Can I use the pin maker on my own website?
Yes, and that’s free too. Copy the embed code below and paste it into an HTML or code block on your site. It works in Squarespace, WordPress and most website builders that accept HTML. Please keep the small link under it, so people know where it came from.
Can I use the pins for my business?
Yes. The pins you make are yours to use on Pinterest, your website or anywhere else. Just make sure you have the right to use the photo and logo you upload.
Do my pins have to credit Best on the Central Coast?
No. Nothing is added to your pins. The only credit is the link under the embed if you put the tool on your website.
Does it work on my phone?
Yes. It works in any up-to-date browser on a phone, tablet or computer. On a phone, the preview shows above the settings.
What file do I get?
A JPG at 1000 × 1500 px, ready to upload to Pinterest.
Does it remember my settings?
Your words and colour choice are remembered in this browser, so your next pin starts where you left off. Photos and logos aren’t kept, so download each pin before you close the page.
Add the pin maker to your website
Paste this code into an HTML or code block on your site. The pin maker will show up on your page, ready for your visitors to use.
To start your visitors with your own web address and colour, change yourwebsite.com.au and the colour code in the first line. Leave them as they are and visitors fill them in themselves.